Android
Set Up Your Market Research Profile
Log in to the dashboard and navigate to theMarket Research page via the main navigation to create your profile. The profile will contain the settings for your Market Research implementation. Creating the profile is super simple and quick, as there are only a couple of sections that need to be completed. See below for explanations:
Info and Settings

Profile Name: You can name your profile anything you choose. The profile name is only for your purposes to identify different Market Research profiles within your dashboard and is not visible publicly.
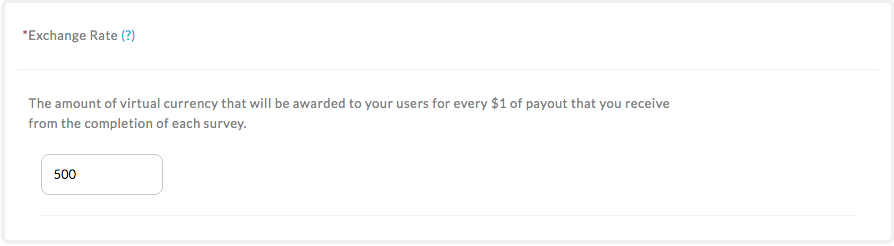
Exchange Rate: This refers to how many points of your digital currency a user will earn for completing a specified offer. For example, if you would like your user to earn 3,000 digital points for completing an offer that pays you two dollars, then enter 1,500 for the exchange rate.
Integration
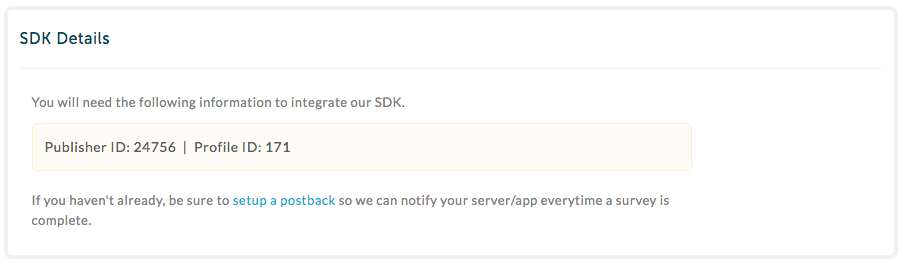
Once your profile has been saved you will move on to the integration section. Here you will see your Profile ID and Publisher ID. You will need this information to link the Market Research SDK to your Market Research Profile.
Lead Notifications (Set Up A Postback)
You will also need to setup a postback. A postback is just a URL that you give to us so we can notify your server every time a user completes a survey. That way you can reward your users. If you have already set up a postback for leads, we will use that same postback for leads generated from surveys. You can setup a
postback here. For a list of all the data points that our server can send you in a postback, be sure to visit our Variables and Info page.
Now you are ready to start integration.